Here at Voiceover Studio Finder, we have extensive experience working in the recording industry and have seen countless different recording studio set-ups over the years. So, we decided to put together this brief guide to the perfect recording studio set-up. The intricacies of sound recording technology can’t be covered in one article, so we hope that this brief guide can point a few budding enthusiasts in the right direction. Please get in touch if you have any questions or if you’d like to add your own voiceover recording studio to our network!
Generally speaking, the bigger the recording space the better. A larger room will not only make room for groups of people (which is especially important if you ever want to record a live band, for example), it will also make for better acoustics. Making a larger recording studio now could also save you upgrading later on, once you start to book plenty of recording sessions. Obviously, you may have to just work with the space you have, but definitely spring for a larger room if you can afford it. Ideally, you’re looking for a room with good acoustics. As we said above, the larger the room the better, but there are other specific conditions that ensure good acoustics, such as high ceilings and hard (brick or concrete) walls that are as asymmetrical as possible. It’s also ideal for it to be on the ground floor as footsteps are much quieter on the ground floor than on floorboards.


Churches and Cathedrals have especially good acoustics If you want to stand out from the competition and make everyone who chooses your studio sound great, it’s not enough to find the perfect room; you’ll also need to give the room an acoustic treatment. Don’t worry, this isn’t as daunting as it sounds. Have you ever noticed the black or dark grey foam panels in recording studios? These panels are used to absorb sound, reducing the natural reverb in a room. This allows you to record only the desired voiceover or music without any unwanted reverb. However, if you overuse foam panels you can remove all of the natural reverb in a room; the result can make sound recordings unnaturally flat. This is where diffusors come in. Diffusors help scatter sound in a controlled way, allowing you to obtain a full, balanced range of sound frequencies. This topic can get complicated and warrants its own blog post, but hopefully we’ve got you thinking along the right lines.
If you’re building your recording studio at home, then you don’t really have a choice when it comes to location. However, if you’re looking for a suitable site, then the potential noise from the surrounding area should be carefully considered. For example, cars and other vehicles can produce a lot of noise, especially during rush hour. Add honking horns into the mix and there could be a problem. To combat that, make sure your studio is as far away from a road as possible — even if this just means situating the studio on the back of the property, away from the road.
Nature has its own array of noisy interruptions, such as wind, rain, birds, etc. Avoid noisy winds by ensuring your studio site isn’t in an exposed position. Trees can provide a lot of cover from wind, but their leaves also rustle loudly in the wind and they provide a habitat for birds and insects, which can make a lot of noise of their own. Rain can be very noisy if the roof is hollow or made from plastic or corrugated metal.


If you’ve managed to find a secluded location, then you’re probably onto a winner. However, there is a security risk that comes with this, as your studio will be filled with expensive equipment that may attract the attention of thieves. Thieves are more likely to target secluded locations, so make sure you install a security system, motion-sensor lights, and anything else you need to keep your studio secure.
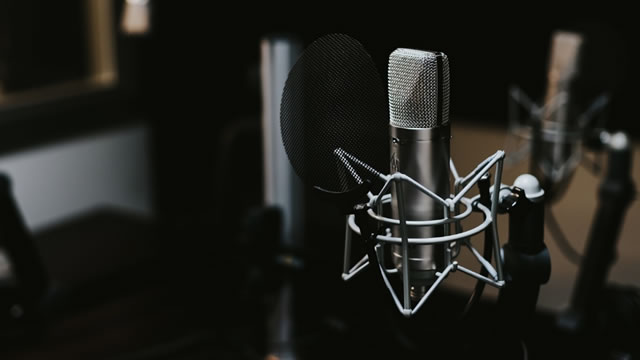
In this article, we won’t give you a direct brand endorsement for any specific brand of microphone or recording equipment, as there are so many great set-ups, and it’s more about how you put it all together. With recording hardware, generally speaking you get what you pay for, but make sure to do a thorough price comparison and read reviews before making any big investments. One thing that is essential for vocal recordings — especially voiceover work — is a pop filter (or a pop shield). These help filter out the more abrupt plosive sounds in speech, especially with certain words with P, B, D, K, and T in them. The good news is that pop filters are very cheap and they last forever.

That’s everything in this brief guide to the perfect recording studio set-up. We could of course write an extensive guide ten times the size, but we hope this introduction sets a few readers off in the right direction!